Time to bounce some numbers around. I purchased a pump (actually 2 in case one goes bad) that pumps 400 gpH. An esteemed colleague reminded me that I had to consider the height at which I will be pumping to and consider that the height will reduce the amount of water being moved. (Thanks TCLynx) I found a chart on the side of the pump casing that shows how much volume drops off as the height is taken into consideration. It's a little bit of estimation on my part as but I think I'm pretty close. I am pumping the water to an elevation of about 46 inches or almost 4 feet above where the pump sits (on the ground in a sump tank). According to the chart I should be moving around 250-275 gpH, which is almost exactly the amount of water I have in the fish tank now. I believe that since I am not fully stocking fish in the tank to its suggested capacity, I may have a little margin for error in regards to fish safety. One of the reasons you want to move the water it to make sure the water stays clean for the fish. Since I have less than the full capacity of fish I am thinking I may have quite a bit less fish waste to remove with my growbeds. I had fairly limited rooms for growbeds so I think I have higher capacity for more fish than I do space for plants. I can add more fish later if I decide to add a couple more grow beds. As it is I anticipate have plenty of fish waste for the four growbeds and my fish won't be as crowded. So now here are my numbers calculations
Pump - 250 gpH = 4.17 gpm
volume of growbeds with pea gravel = 20 gallon
It has been noted that when adding water to a growbed with peagravel in it, estimate that 40% of the volume of the growbed is how much water will be needed to flood the tank to the gravel line, BUT we don't want to fill it to the gravel line, just about 1-2 inches underneath the gravel line. Since 12 inches of pea gravel gives us about 20 gallons, 10 inches would give us 16.6 gallons. Thats the 20 gallons minus 2/12 (1/6) since we're losing 2 inches because we only want to fill the growbeds to 2 inches below the gravel level. We are estimating the water needed to fill one bed is (40% * 16.6 = 6.64). It should take just over 6 and a half gallons of water to fill each growbed to the desired level. Given my pump volume of 4.17 gallons per minute, I timed the time it took to fill in from the overflow tube from the fish tank ( overflow should be the same as pump volume). It took about 90 seconds to fill the growbed with water so that would be 4.17 * 1.5 minutes for a total of 6.25 gallons of water to flood it. I could have been off a few seconds with my timing but as you can see the numbers are really close so my estimates are fairly close to correct. My plan is to start out with 4 grow beds. I had wanted to do 6 growbeds but space is very limited in the greenhouse. I may add 2 more growbeds later but they will probably have to be outside. Also I bought 1/4 ton of pea gravel and that amount filled 4 growbeds and I had one 5 gallon bucket left over so I didn't really want to get another truckload right now.
Since our water flow into the growbeds is a constant in this scenario, if it takes 90 seconds to fill one growbed it should take 360 seconds, or 6 minutes to fill 4 of them. (4 growbeds * 90 seconds) Technically we are dividing the flow by 4 which means it takes 4X longer to fill. Or you could call it increasing your growbed volume by 4 and going at it from that angle, it's all the same.
As a side note, the most time consuming thing so far has been washing the pea gravel, it took literally hours to wash and then I had to do individual bucket loads to get as much dirt off as I could and EVEN then the water is a little cloudy. I don't know there's any functional disadvantage to having small amount of dirt in the system, possibly it could clog the pump filter I guess but mainly for me it's an aesthetic issue, I want to be able to see my fish. I am hoping the dirt will settle to the bottom of the growbeds eventually but I just simply got tired of washing the rocks. Any water I saved on doing aquaponics has MORE than been off set by the water I used washing the rocks. Even so, the water is not really wasted of course, it simply gets absorbed into the ground and then either eventually evaporates back into the air or finds it's way to water a plant or just slips back into the water table, At least that's what I tell myself.
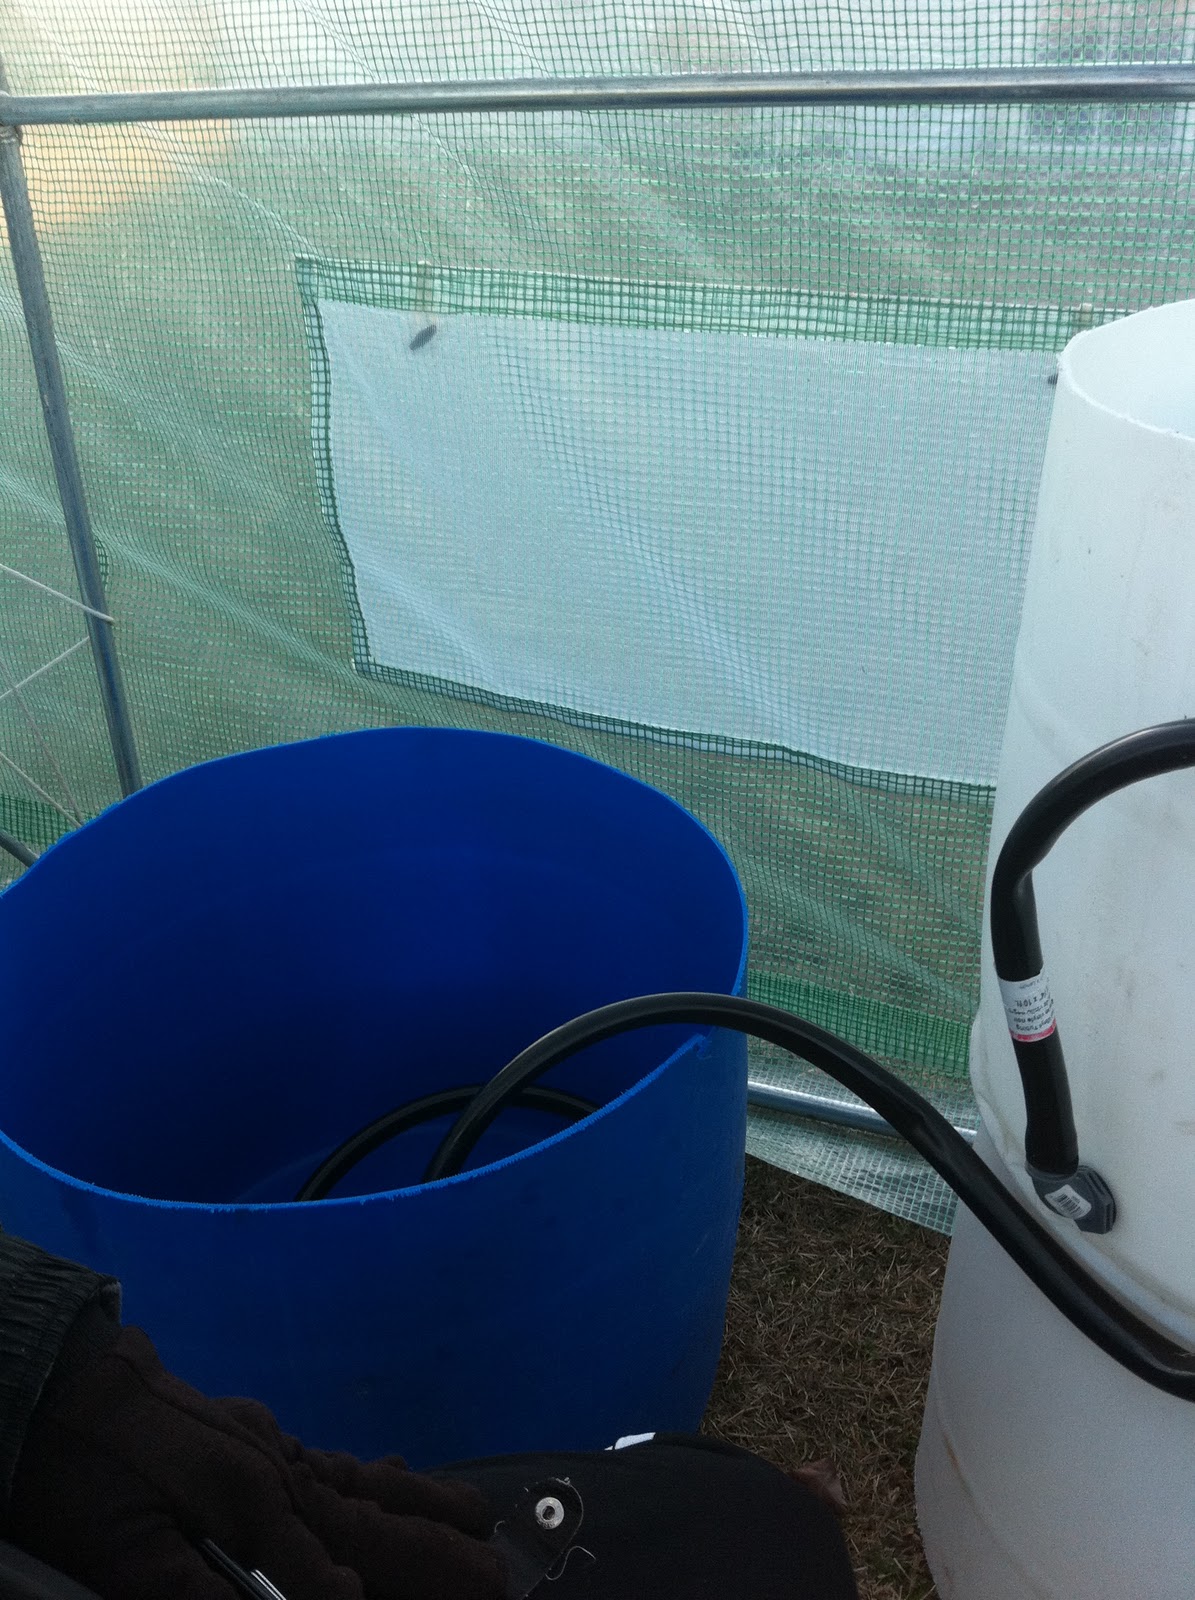
Now we have to figure out how long it will take the beds to drain. With the setup like it is now, it actually fills up faster than it drains but of course that will change when we reduce the flow by 75% by splitting it four ways. When I tested it with one barrel it drained slower than in was being pumped in so it would have overflowed had I left it on. This was not what I expected as I used the same size pipe for the drain as I used for the overflow so I thought it should drain at the same rate. This was not the case, I am attributing the slightly slower drain rate to the present of small rocks at the mouth of the drain pipe inside. If it takes 6 minutes to fill all the growbeds, since the beds are constantly refilling even when they are draining, we should be cycling the water about 10 times an hour in the growbeds. I will test this as well when I have all four beds up. Realistically I expect it to be less than this as I think the water is going to drain slower than I had anticipated at first. I think as long as it cycles at least 6-8 times and hour it should be fine. I think the plants will have plenty of opportunity to get their nutrients with that many cycles.
I am considering putting some form of filter, or strainer over it to keep small debris out of it. The is particular pea gravel may not be the best as there are lots of good sized rocks but also a lot of very small rocks. I foresee these may be a problem unless I add something to the drains to keep them from getting clogged. That being said I have heard of people who say sand is an option as well so other that the draining issue I don't think the small size of the rocks will be an issue. As a matter of fact it may be beneficial in that it provides more surface for the bacteria to live on and may be slightly better at anchoring the plants.
At that rate, since the beds are constantly refilling even when they are draining, we should be cycling the water about 10 times an hour. I will test this as well when I have all four beds up.
I put about 30 guppies in the tank last night just to see if the water was capable of supporting life and they seem to be doing fine, they fed and were active. I lost 2 overnight, one I think because it got sucked into the overflow tube at the top of the fishtank and one that just seems to have passed on from the mortal coil and stays on the bottom of the tank. Curiously enough, I had one fish that got sucked into the overflow tube, into the hose down to the sump tank and survived just fine. I transferred him back to the main tank.
I also added some nitrifying bacteria I found at a Pet Land, they wanted $50 for a liter and I told them no way, manager said "I'll go half price on that." so it would have been about the same price if I ordered it online, maybe even cheaper. It is a product called Nutrafin Cycle and the store manager assured me it only had natural bacteria in it so around next summer when I'm eating the food from this garden if I grow gills or a fin on my back you can all go after the store manager at Pet Land hahah.
Sorry no pics on this blog but the next one should have plenty.
I am sad that the 2 fish died, even though I knew some would, but it feels so ... rude... to disregard their deaths so easily so I have decided to name them, to give them an identity as a fellow being on the planet and as a way of mourning their passing, so... Goodbye Deadfish 1 and Deadfish 2, you will be missed, not so much by me but by Live fishes 1-28.