Ok, third installment, now we're starting to put some stuff together. The below picture is of the tote after I cut off the metal top of the frame and the top of the plastic container. I tried using a jigsaw on the metal bars but broke 2 blades. I cut one side off by hand using a hacksaw but that was pretty time consuming so I gave the jigsaw another try. Turns out I wasn't placing the blade correctly and it was jamming it into the metal and breaking it. Oh, well live and learn. After I picked up that little piece of info the sawing went much smoother.

Below is the tote filled with water and inside my greenhouse, the tote is big, takes up about 40 inches and the greenhouse is only 6 feet wide so you have to squeeze past it but it's not that bad. It will be worth it to have it under cover. It's a more controlled environment, It will be warmer earlier and more protected from rain which could add unwanted water to the system. Also cuts down on contaminants like cut grass and debris.

After doing a little research I was a bit worried about what the local water department puts in the city water to purify it. Apparently chlorine gas will dissipate if you simply leave the water outside a few days but some places uses something called chloramine that is not so easy to remove. But after a couple of phone calls to the Calhoun water department I was able to find out that it is in fact chlorine gas. Guy on the phone even said I could come by the water department and they would give me some little test kits to see if the chlorine was gone.
Well, after much worrying about it, I think I found what I needed at Home Depot to seal the places where I will be cutting holes and adding pipes. I was worried about it leaking. Most of the time when you are using PVC you're worried about the water getting OUT of the pipe from inside. I was worried about it seeping outside the PVC fitting. But a little searching and I found what I needed, it's a 3/4 inch "L" fitting with a plastic nut on the inside with an O ring. I think it was $2.85. The top end pictured below has a 7/8 inch (I think) barb on it to insert flexible tubing over. This is what I needed as I am using a loop siphon to drain the beds. There is also a little black foam rubber ring on it too where the flexible tubing will seat onto the barb.

Below you can see the inside of the "L" adapter, the little round nut there flattens the O ring when tightened and seals it off. Seems to work pretty well, I didn't notice a leak. Even if it does leak a drop or two every couple of hours, I am not all that concerned but I didn't notice a constant leak at all. If you use something like this be careful not to strip those threads, I was using a pair of channel lock pliers to tighten up the nut and it is possible to twist too hard and strip the threads.


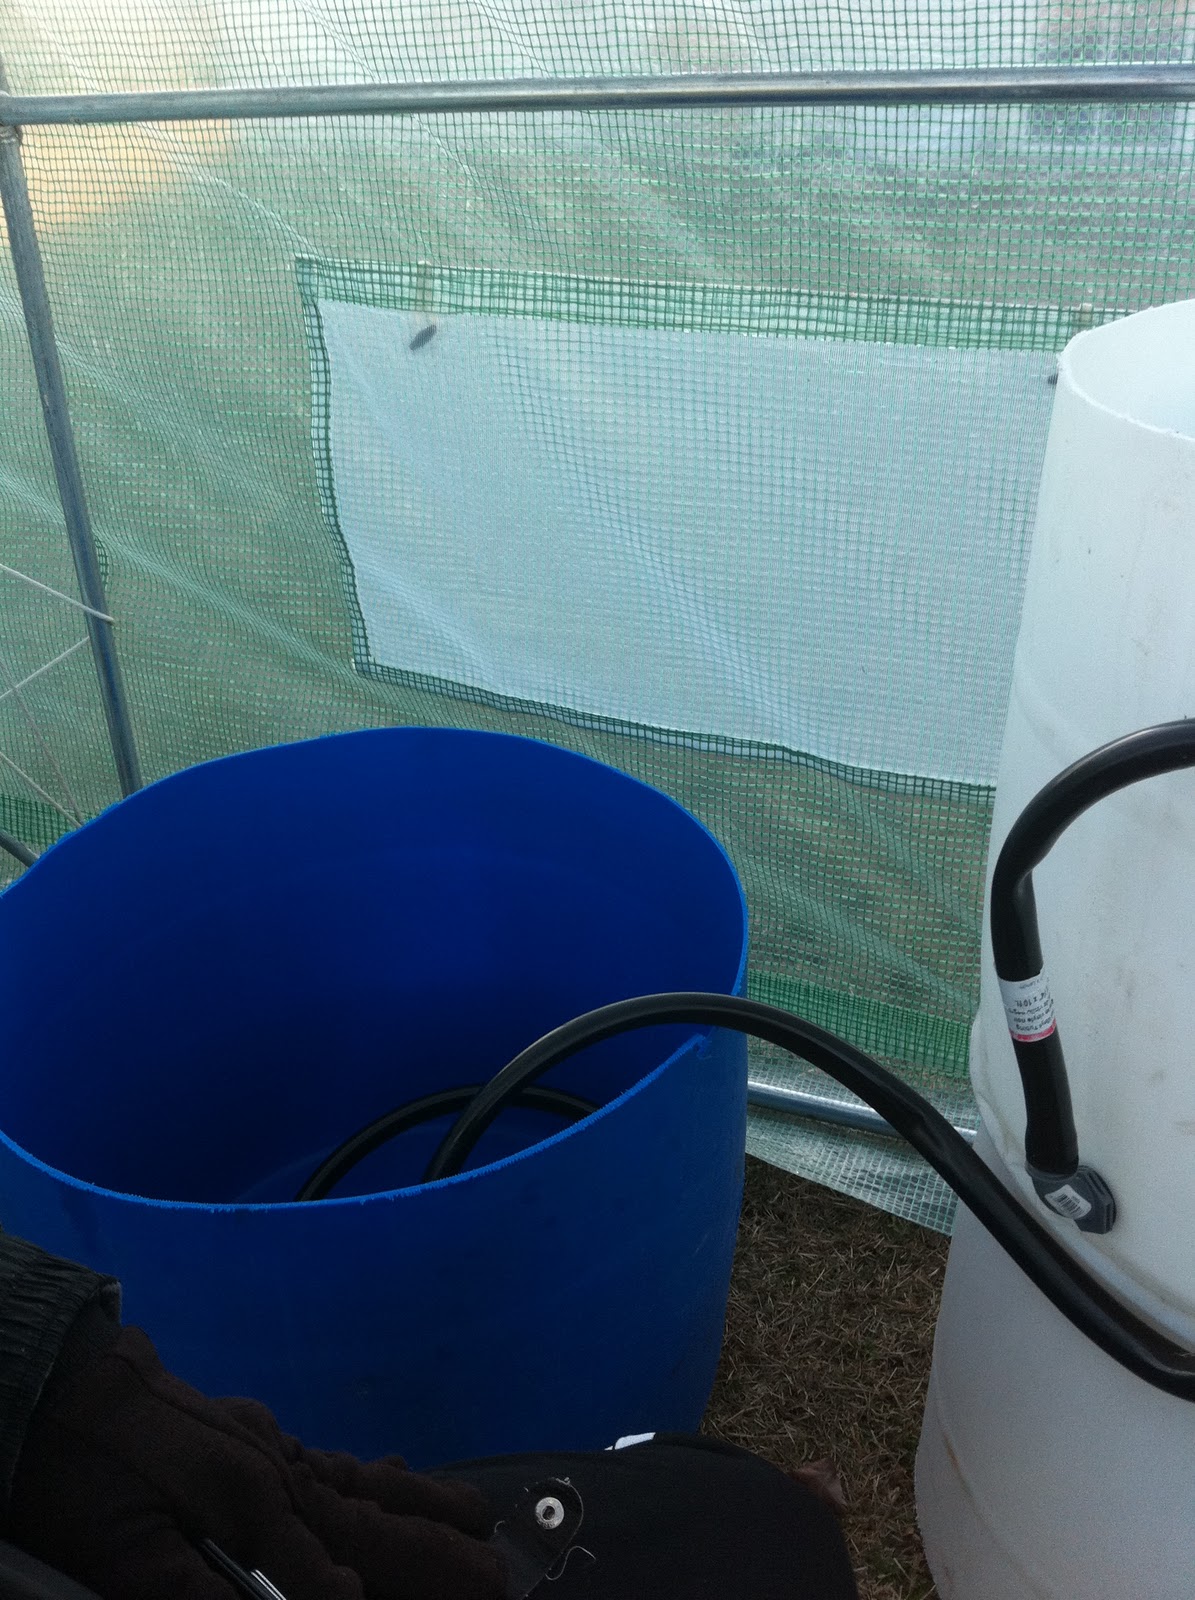
Below shows how I have the flexible tubing suspended to just about the right height through use of a copper conduit hanger, the hanger is normally used to suspend copper or PVC when running a water line but I took a pair of pliers and twisted the ends so that they would hang off the edge of the barrel. Not sure if that's the solution I will use eventually but it works fine for "beta testing" or proof of concept. Hardest single part of just about everything so far was getting the flexible tubing over the barb, even though it was the right size it still took a little elbow grease to get it in. I think in the future warming the hose or at least the end might help.


Just to test the siphon I made the loop and then put the other end of the flexible tubing into another half barrel. I couldn't get the siphon to kick in at first but I discovered it was because I had so much slack in the hose and there must have been air pockets in the tubing that weren't being pushed out as the water level rose in the barrel. My hypothesis is that the force of the water pushing into the tubing wasn't great enough to force the air out of the other air pockets further down the line. I'm not sure if that is the exact reason or not but when I cut the tubing to a shorter length the siphon kicked in like a charm.
Incidentally, Home Depot had these little green handled clamps show below for .99 cents and I bought a few, one of the best dang purchases so far, already got my money's worth out of them.

I wanted to test the loop siphon a couple more times so I went ahead and sat the submersible pump inside the second barrel half so I could move the water back into the first barrel, which will eventually be a grow bed. Interestingly, the water drained out at only a very very slightly quicker rate than the pump pumped it back in. The pump I have is rated at 400 gallons per hour and an 8 foot head. Now, if we were just filling this one grow bed that might not work as it would take a long time for the water to drain because it would be filling back up about as fast as it was being drained. . Because my fishtank is so tall, I have decided to use what they call the CHOP method which stands for Constant Height, One Pump. This means the level of water in the fish tank stays relatively constant (Constant Height) and you use One Pump in the system. Because we use gravity as a big part of the system, we need our water to flow DOWN into the growbeds, since the fishtank is higher. What will happen is there will be an overflow tube which is constantly overflowing into the growbeds from the fishtank. The pump from the sumptank will be constantly pushing water into the fishtank, which in turn will constantly flow into the growbeds. The growbeds will fill until the water reaches the level of the highest point of the flexible tubing, which is looped outside the growbed, at this point the water will force out the last little bit of air in the loop siphon and the siphon effect will start draining the tank into a third tank (Sump tank) sitting below the growbeds. When the water level reaches the level of the "L" adapter at the bottom of the inside of the tank, air will enter the pipe which will "break" the siphon and it will stop draining and start filling up again. The sump tank is where the pump sits, constantly pumping clean water back into the fish tank.
A great explanation of how loop siphons work is available here.
Next up is rigging up a table for the growbeds, getting the pea gravel and preparing it and putting some "test" fish into the tank. I'm going to get some cheap goldfish to make sure the water is ok. No, I am not intentionally killing the little guys, I will test the water first with a water quality test kit and expect them to do just fine. I just want to test it before I spend the money on my catfish.
Thanks for posting this. I really enjoyed reading it. I can't wait to see how your build progresses. I'm thinking about ways that I can build one too. I live in an HOA, so it will be challenging to build something inconspicuous.
ReplyDeletethanks for following it, it has been a blast. the 36 goldfish are down to about 30 but those that are still around are active and healthy I think. I'll be posting again with my final setup pre-plants this week sometime I think. I am stoked to see it fully operational. Just today I checked out the plumbing that splits off into the growbeds and it seems to be working fine.
ReplyDeleteThis comment has been removed by the author.
ReplyDeleteThis comment has been removed by the author.
ReplyDelete